

Documenting my process of taking a 2014+ HID (xenon) headlight and swapping out the factory HID bixenon D3S projector with a frensal lens to an OEM RX350 HID bixenon D2S projector with a clear lens (STi-R) swap. I purchased a chrome headlight as a donor to practice and mock things up on.
Why the upgrade?
1. D2S (RX350) has better bulb options than D3S (factory projector)
2. Factory projector low beam is adequate, high beam is horrible and almost nonexistent
3. Sharp cutoff of the RX350 (STi-R lens upgrade) vs blurry cutoff of OEM projector (fresnel lens)
4. RX350 is a better overall 3” projector than the 3” factory projector
5. I can’t leave ANYTHING alone!! [emoji4]
1. Disassembled the headlight by taking off everything I could access from the outside: turn signal bulb, self leveling motor and associated components, HID ballast and dust cap.
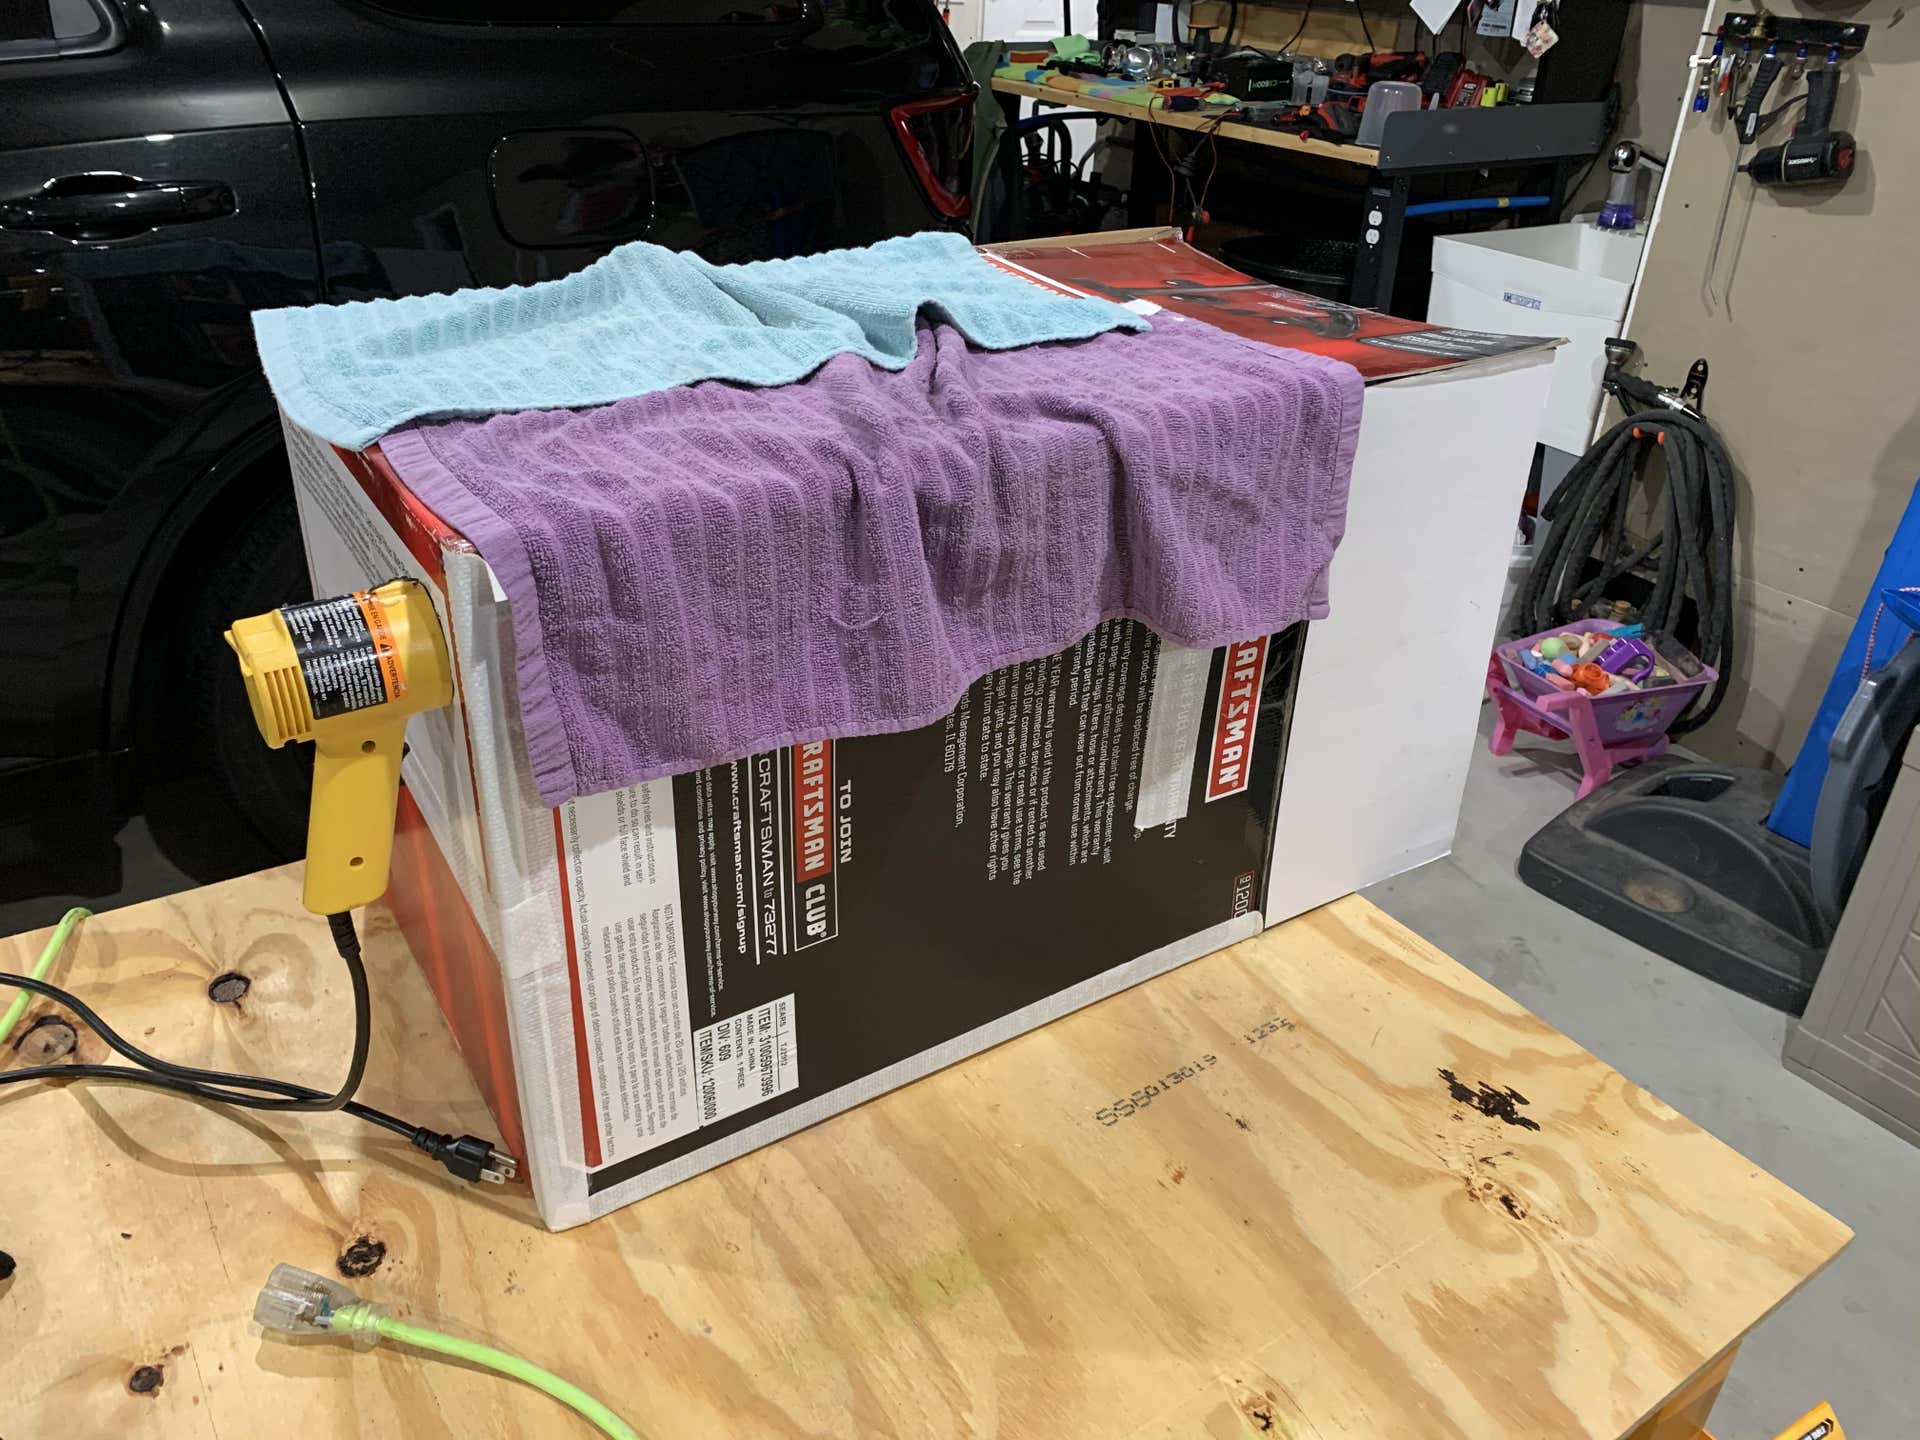
2. Baked the headlight via my cardboard box oven and heat gun put on the high setting. Took 3 heat cycles of 15-20 minutes to work the headlight open. The sealant used is definitely not a butyl but more of a silicone sealant that dries hard but if heated will become workable but not gooey and sticky.
![Image]()
3. Front lens off (followed this video for some inspiration: https://youtu.be/uDMaUKfqlKw)
![Image]()
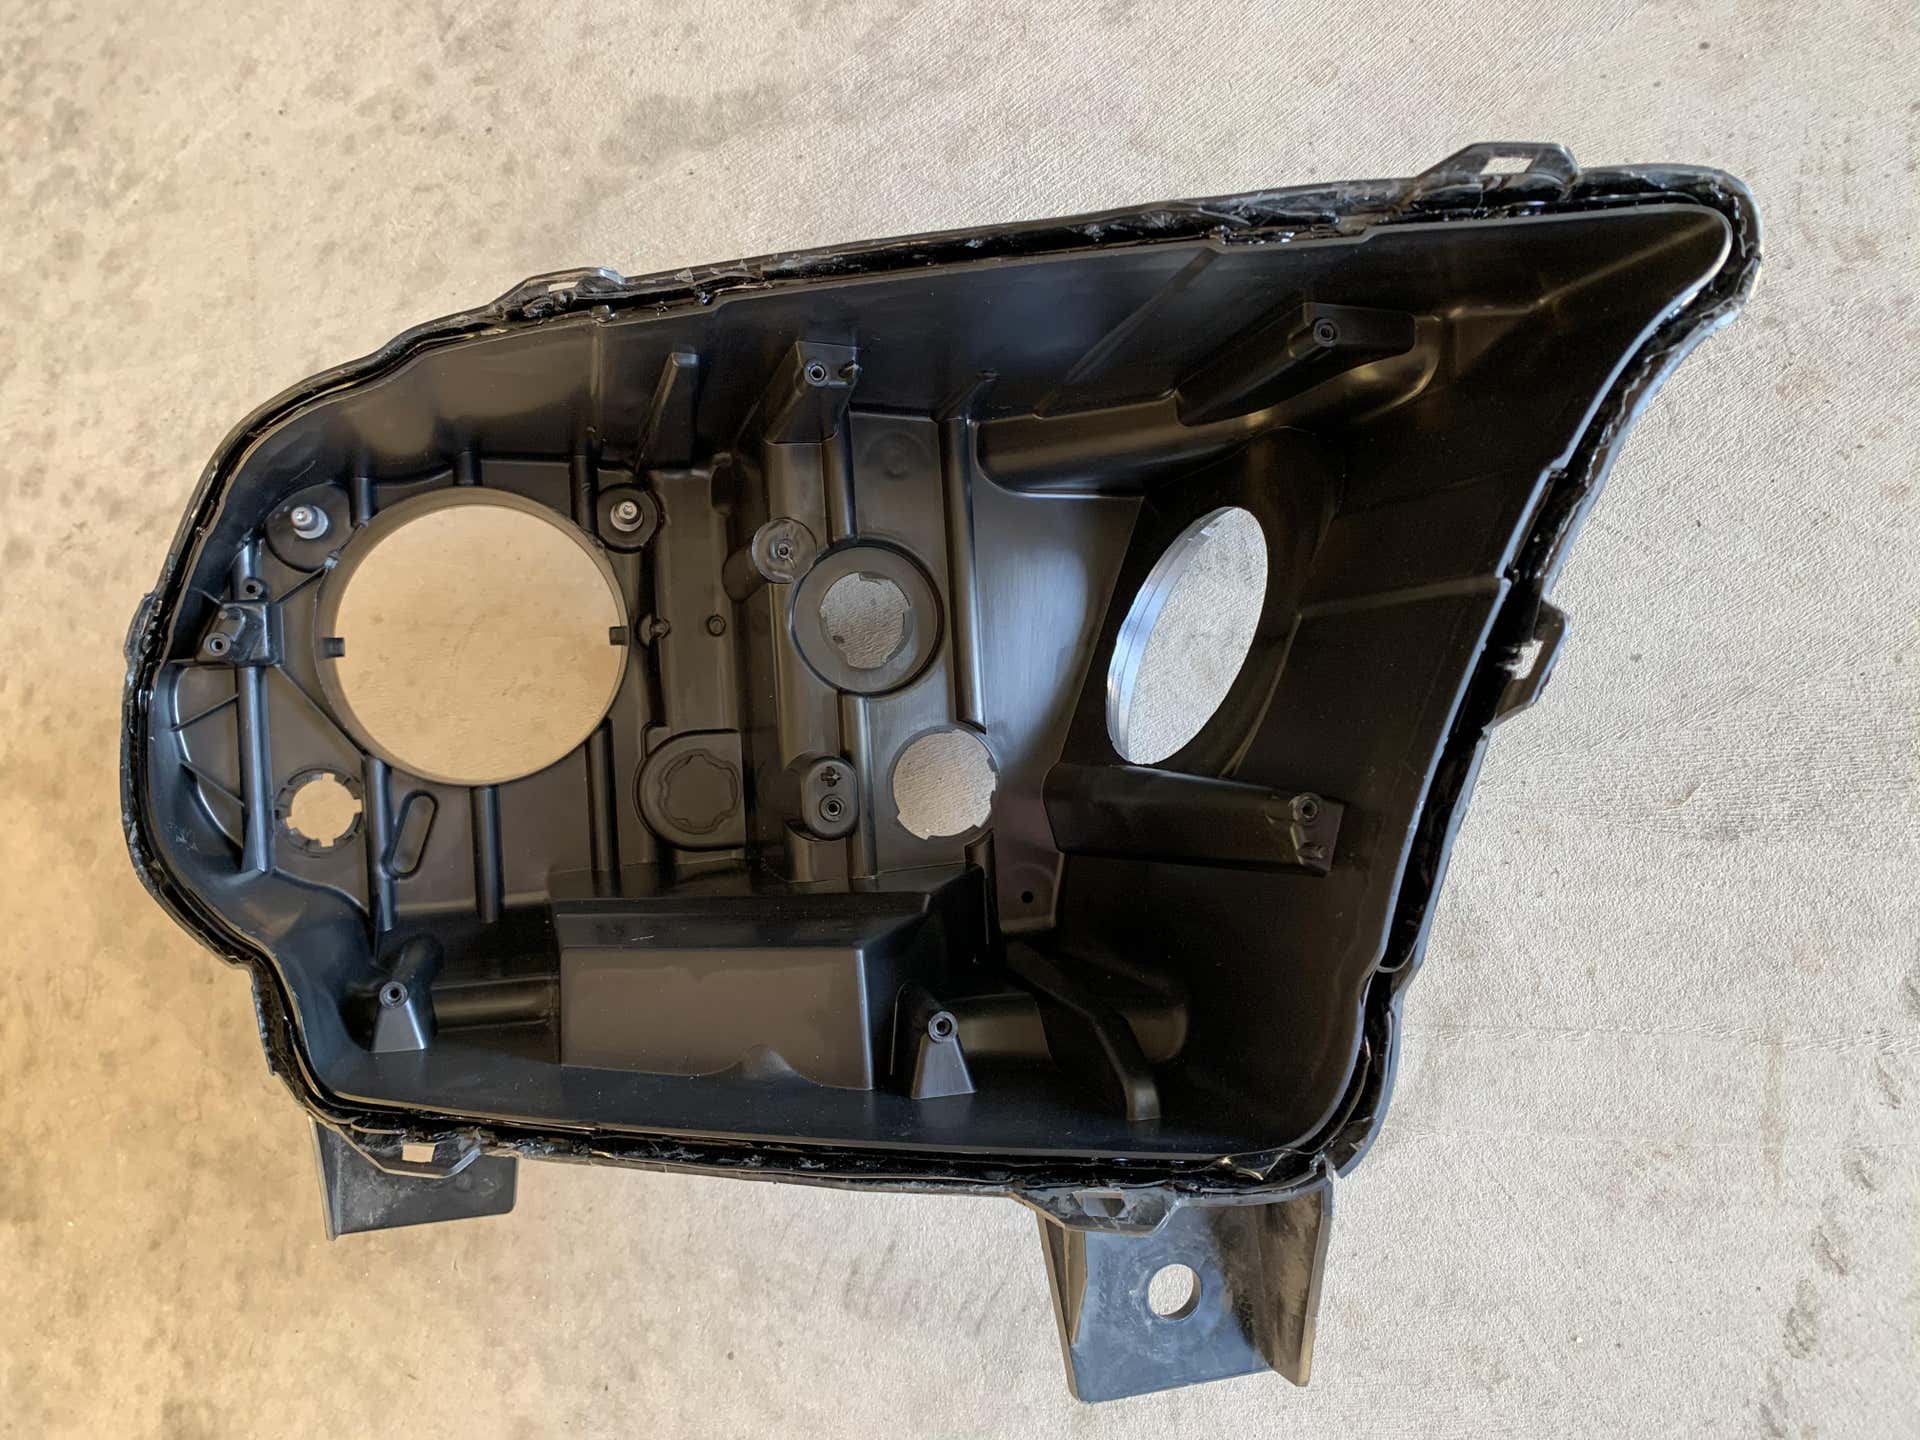
4. Bare headlight housing
![Image]()
5. Internal components
*LED DRL/Amber LED side marker
![Image]()
![Image]()
![Image]()
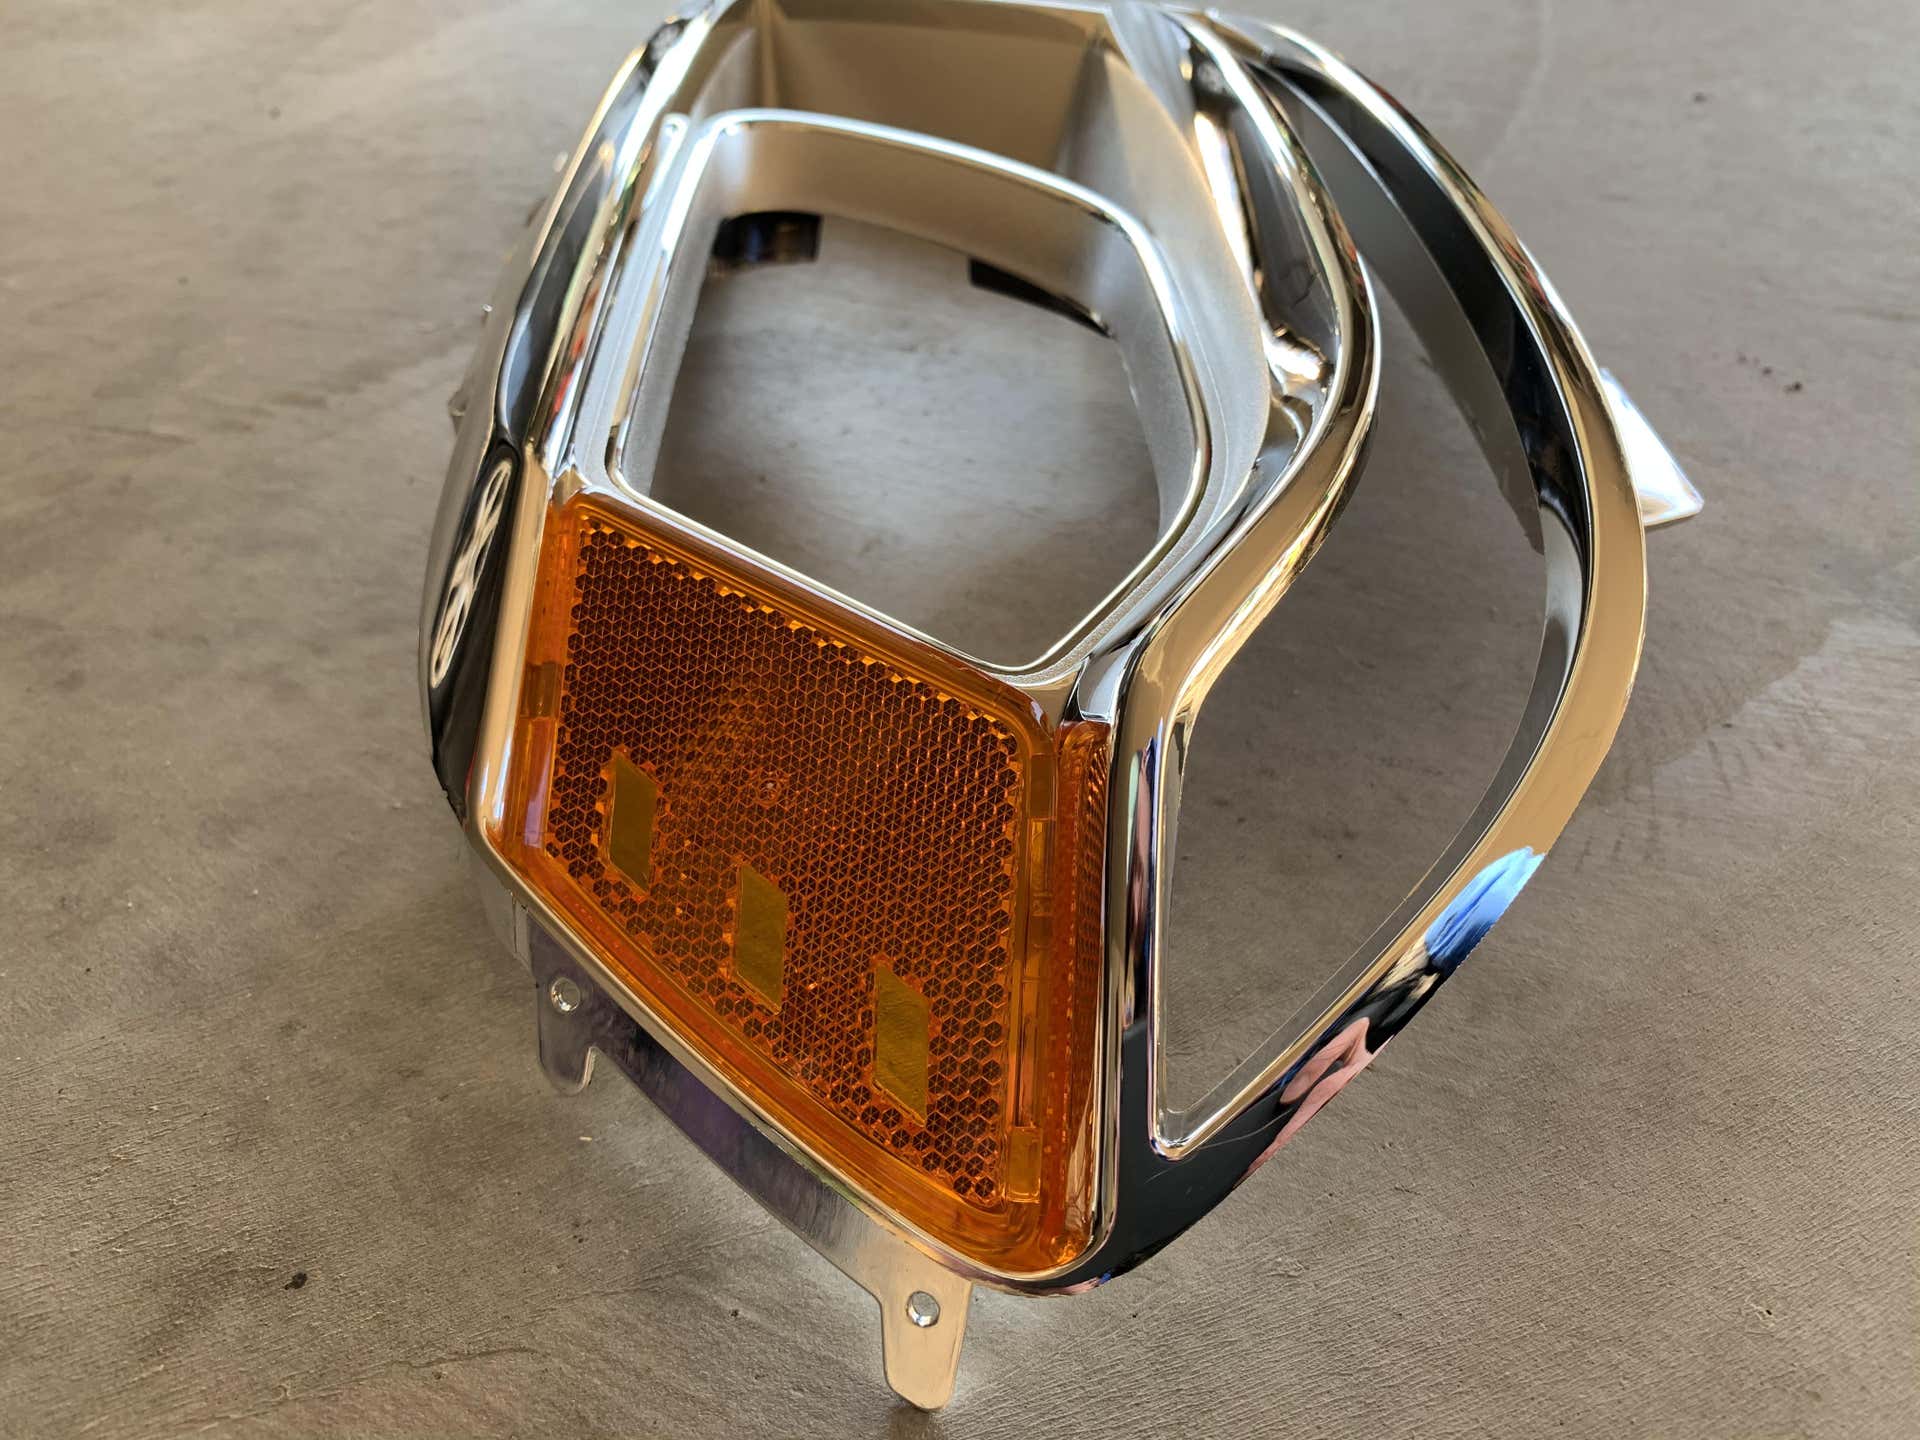
*Outer bezel (chrome version)
![Image]()
![Image]()
*Inner low beam/high beam bezel
![Image]()
*Turn signal reflector
![Image]()
*Lens
![Image]()
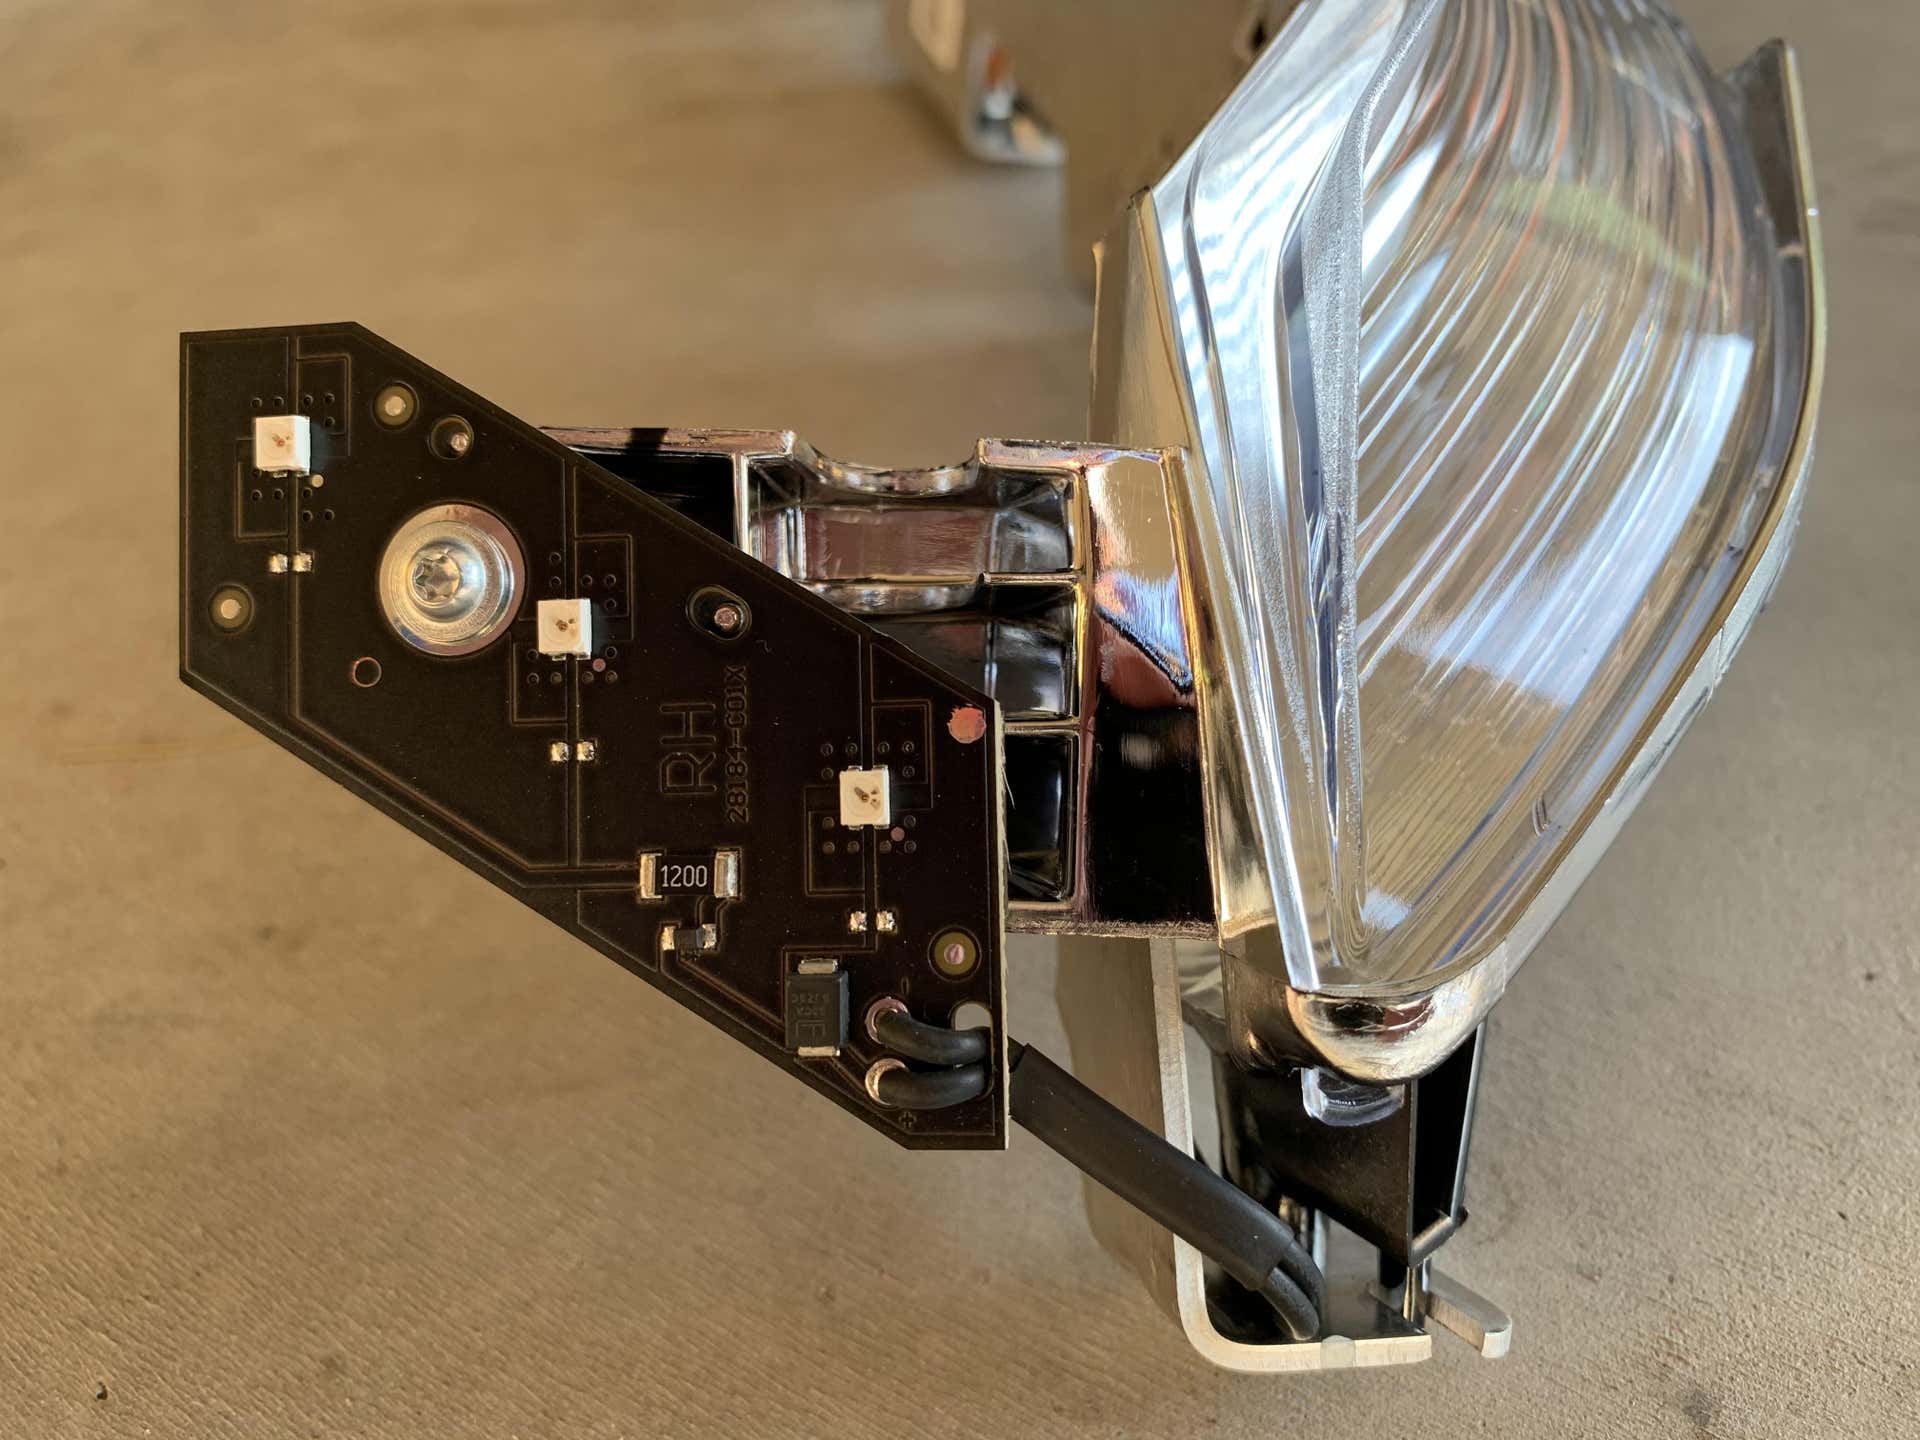
*OEM projector
![Image]()
![Image]()
![Image]()
![Image]()
*OEM projector trim ring
![Image]()
![Image]()
![Image]()
![Image]()
Sent from my iPhone using Tapatalk
Why the upgrade?
1. D2S (RX350) has better bulb options than D3S (factory projector)
2. Factory projector low beam is adequate, high beam is horrible and almost nonexistent
3. Sharp cutoff of the RX350 (STi-R lens upgrade) vs blurry cutoff of OEM projector (fresnel lens)
4. RX350 is a better overall 3” projector than the 3” factory projector
5. I can’t leave ANYTHING alone!! [emoji4]
1. Disassembled the headlight by taking off everything I could access from the outside: turn signal bulb, self leveling motor and associated components, HID ballast and dust cap.
2. Baked the headlight via my cardboard box oven and heat gun put on the high setting. Took 3 heat cycles of 15-20 minutes to work the headlight open. The sealant used is definitely not a butyl but more of a silicone sealant that dries hard but if heated will become workable but not gooey and sticky.
3. Front lens off (followed this video for some inspiration: https://youtu.be/uDMaUKfqlKw)

4. Bare headlight housing
5. Internal components
*LED DRL/Amber LED side marker


*Outer bezel (chrome version)

*Inner low beam/high beam bezel

*Turn signal reflector

*Lens

*OEM projector


*OEM projector trim ring


Sent from my iPhone using Tapatalk


")


