Dodge Durango Forum banner

What did you do to your Durango today?

1 reading
2M views 5.9K replies 721 participants last post by  RVTRKN  
#1 · (Edited)
Here's a thread that I see on a lot of car forums that is pretty fun to look through.

So, what did you do today? It can be anything from a fresh wash to ordering new parts!

:thumbsup:
 
#1,711 ·
I experimented with a new (to me) brand of polish/sealants/etc. This is Duragloss 105 (mixed with 601 4:1), and a top spritz of 951 Aquawax.
Image

Image

Image

Image

Image

Image

Image


The paint slickness is insane.

The Durango was previously paint-corrected (and I think I shared details of that on this thread a few pages back), so I was starting from a really clean slate. This is my new favorite go-to product, so far. Just awesome to look at.
 
#1,714 · (Edited)
Installed rear Husky mud guards. Have fronts too but did not have time to mess with them today.
 

Attachments

  • Like
Reactions: bohic
#1,716 ·
First Oil Change. I used 7Qt of Valvoline Max Life and a Mopar MO899 filter. Man that filter is huge.

2 things:

1) I used max life synth blend 5w-20 for this change because much of what I read said that the first change should not be full synthetic and max-life met ms-6395 spec. At 10k, I will go full synthetic (probably Royal Purple)

2) MO899 is HUGE. When I purchased it, I purchased a cap wrench to install it. it wasn't until I attempted to remove the factory-installed filter (using that cap wrench) that I noticed the difference. i thought I had bought the wrong filter. Once I had the old off, I checked the mating surface and discovered them to be the same, so I installed the 899. after installing, it looked like the new filter was making contact with the guard and motor, to I removed it and check for scratching. I found none, so I re-installed and then ran a shop paper towel around between the rim of the filter and the surrounding "stuff". It moved freely, giving me the confidence that the filter is proper for that truck. After completing the change, I checked and double checked the bottom of the D for leaks. I could not find any. Still, I cannot help having a tinge of fear that I am going to have issues.... (probably paranoia).

A couple oil-change tips:

1) Remove the cover that has the access hole cut out. It really was not that big a deal to do and made a WORLD of difference. Not having to try to work through the access cover hole was of significant benefit (definitely worth the extra few minutes).

2) Assume your drain bolt will be problematic (difficult to remove) and get/use your "aid". For me, a boxed-end wrench that is just large enough to fit over the handle of my socket wrench was perfect to get me more leverage.

3) Because my D was on the ramps, I elevated my drip pan so that the oil would have less of a chance to "splash".

4) Many people the mess made by removing the filter. I was prepared for this and simply kept the filter in place allowing the oil to hit that, then drop down on the channel and run off into the drip pan. First spun the filter loose so it leaked. When that stopped, I removed the filter (from the threads and simply held it there until it stopped pouring oil from the channel. Once that was done, I lowered the filter to the drip pain and allowed the rest of the oil to simply "run off".
 
#1,717 ·
Valvoline synthetic is pretty good stuff, it's what I use everytime. The whole "don't use synthetic the first time!" I believe, and this is my own opinion and others will vary, a hoax. Use whatever you want from day one as long as it meets or exceeds the specs Chrysler is calling for. And yes, the filter is huge lol. I suggest a fumoto valve btw, my oil pan bolt is stripped all to hell right now, I really need to stop putting that off and take it in...
 
#1,718 ·
Didn't exactly get this all done in a day, however over the span of two months this is what I got accomplished.


I am a NOOB to the Durango platform (old timer on 3000GT/Stealth International) however the wrench time was a 100% me thanks to previous threads by people like Bryali. I am more than happy to answer any questions about any of these installs as they are fresh in my mind. GREAT COMMUNITY HERE!!!

JdC
 
#1,724 ·
what is the black trim piece on the upper rear bumper?
 
#1,726 ·
Finally got around to installing the factory hitch.
Wasn't difficult at all, just had to do it while ducking the rain storms. Took about 1.5 hrs start to finish, which wasn't bad at all. Ordered the Factory hitch, factory plug and the 2 extra bolts.

Next up are the RM spring to lower this beast.

Tman
 
#1,727 ·
It's been a busy couple weeks since the purchase of my wife's '17 GT. Husky liners matts installed, hard wired and Blendmount installed for Passport 9500, calipers painted, LED puddle lights installed under vehicle, All windows tinted, Blackfire Wet Diamond applied to exterior, interior leather treated with sealant and I tinted the taillights with Vinyl tint. I'm loving her new "baby hauler!"


#1,729 ·
It's been a busy couple weeks since the purchase of my wife's '17 GT. Husky liners matts installed, hard wired and Blendmount installed for Passport 9500, calipers painted, LED puddle lights installed under vehicle, All windows tinted, Blackfire Wet Diamond applied to exterior, interior leather treated with sealant and I tinted the taillights with Vinyl tint. I'm loving her new "baby hauler!"

View attachment 40866
View attachment 40850
View attachment 40858
View attachment 40898
View attachment 40874
View attachment 40882
View attachment 40890

Very nice looking truck.. What kind of LED puddle light did you install?
 
#1,728 ·
Installed some Mopar sport pedals - pro tip use one of those 88 cent paint can openers on the brake pedal. It was a life saver from all the other reviews I read of the install.

Also bled my brakes (installed new rotors and pads a few weeks back), and flushed out all the old fluid in the process.

Tomorrow I take on the remote start
 
#1,730 ·
Put on my big boy pants and installed the SRT steering wheel.

LOVE this thing!!! Thank you to all who answered questions I had. Now I can help others who may have questions as well :)


I read all the reviews and thought "now much difference could there be?!" Well, let me tell you....this is the wheel the R/T should have come with!

Chris
 
#1,733 ·
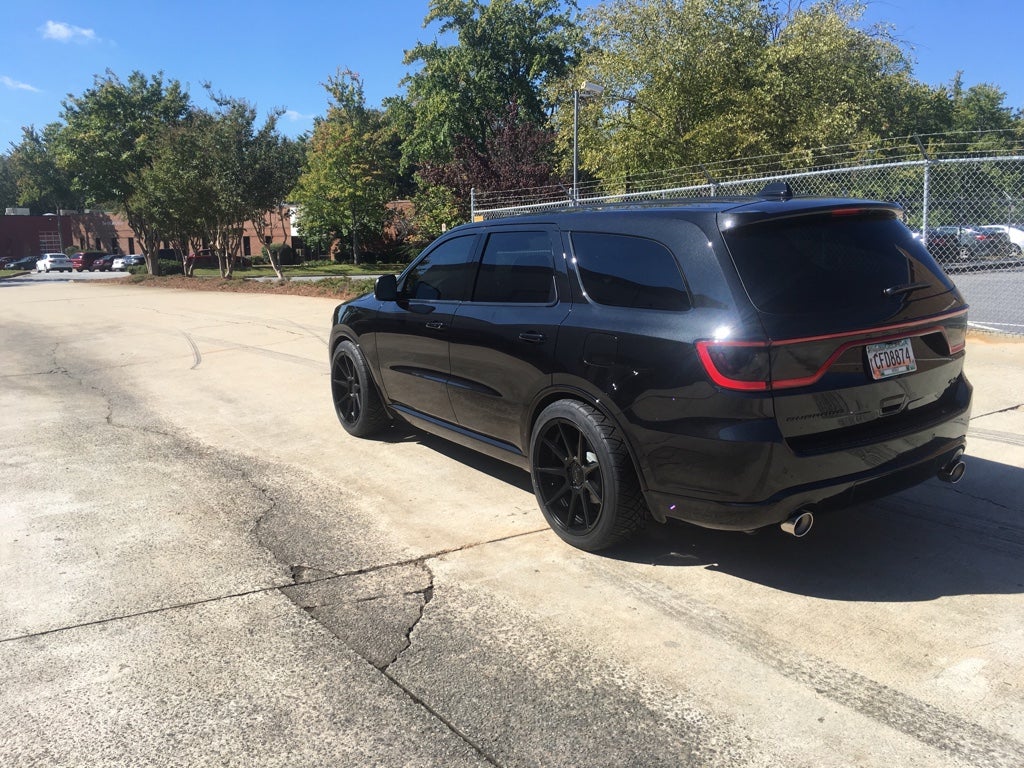
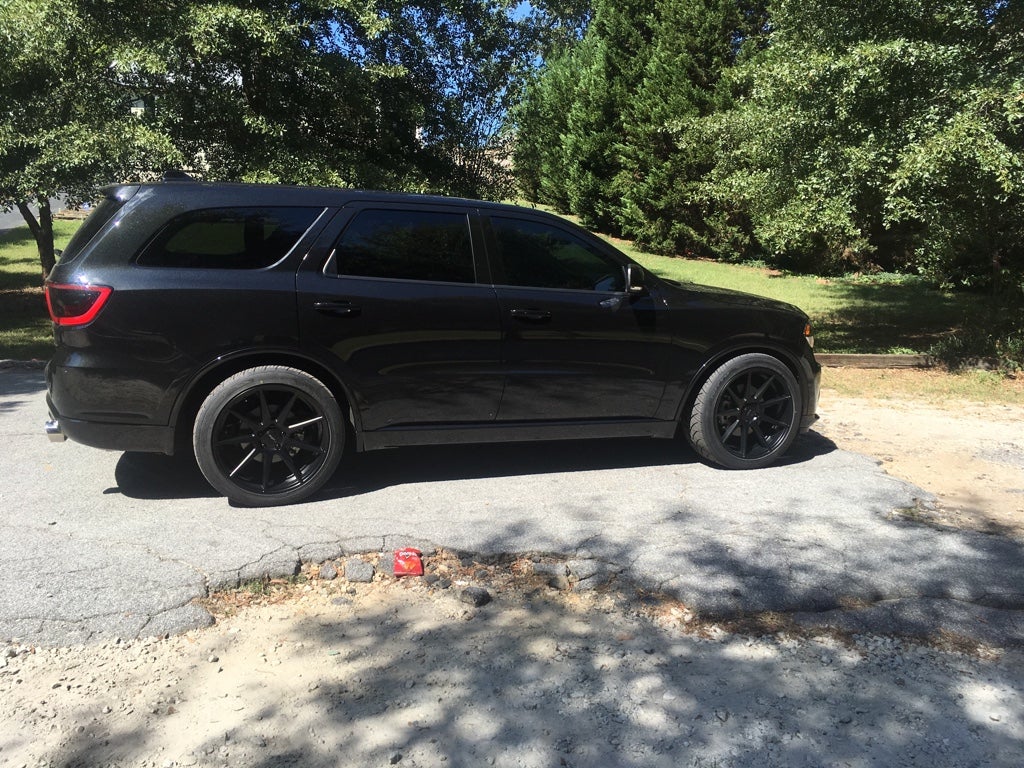
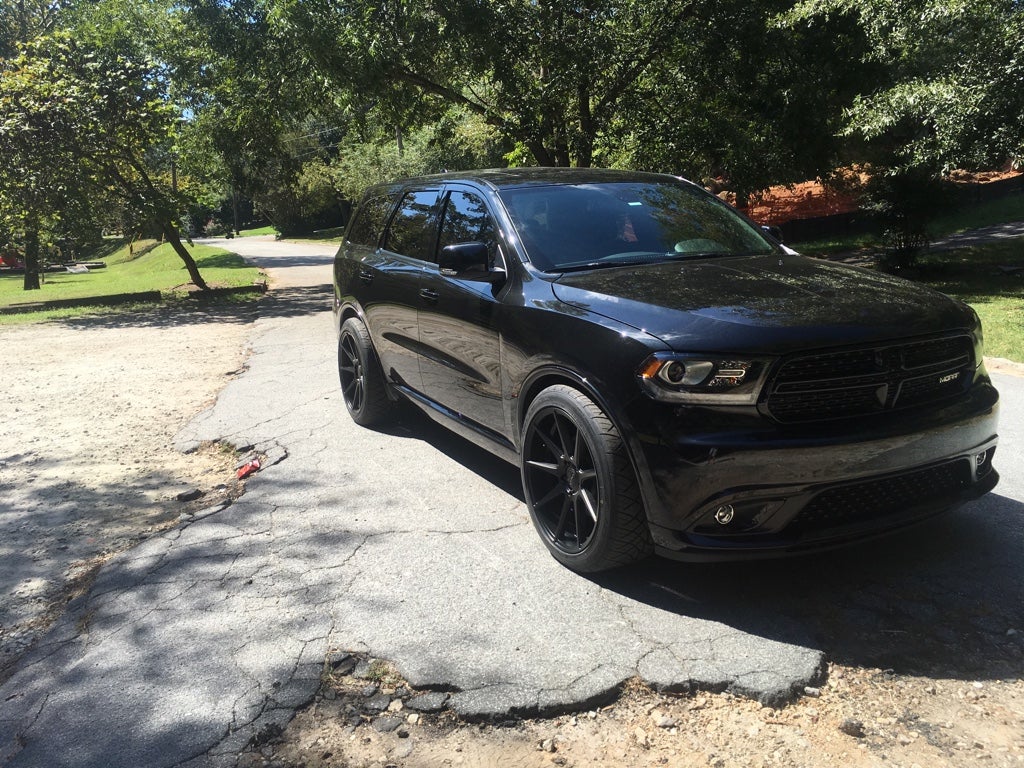
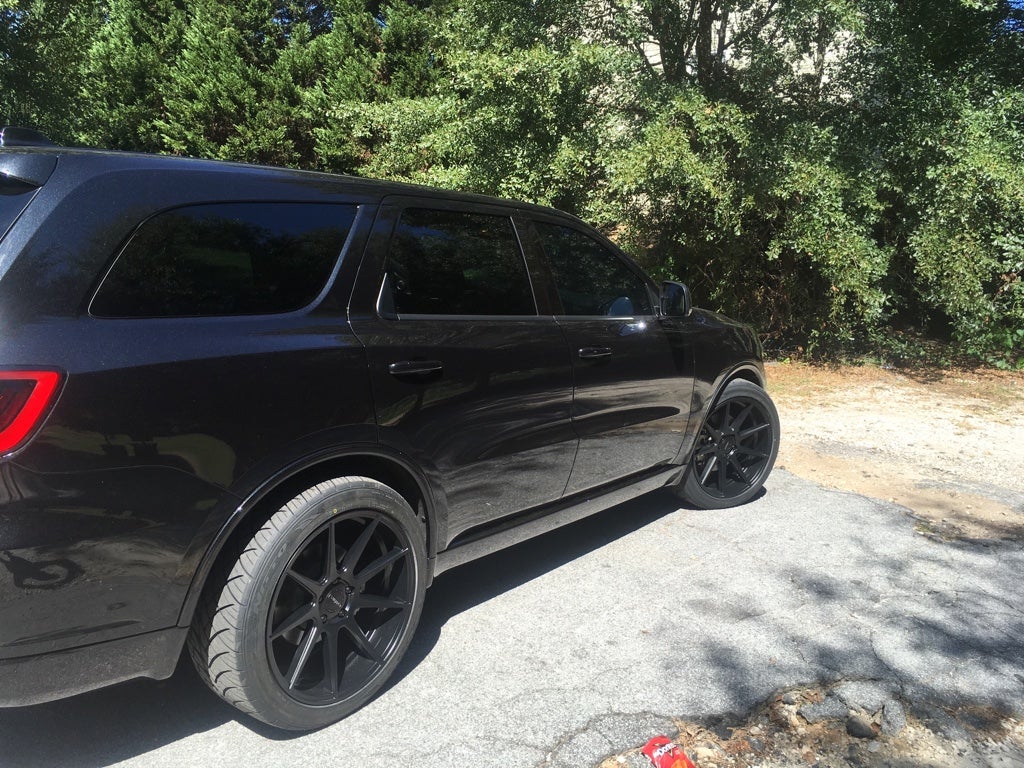
I dont remember posting this update on this forum. got my Durango fully painted recently

Before


After

Here comes the Cat Fight :D
 

Attachments

#1,735 ·
Installed Jeep SRT Borla S-Type axle back on the R/T. Not sure yet if I am going to keep it or not as it is just a little to loud. But damn it sounds so good. A different sound then most exhaust for the Durango.
 
#1,749 ·
Not at all, if anything the toughest part was figuring out which was the in vs out on the catch can and on the engine. You want the "IN" on the catch can to hit the stainless steel filter media. The rearmost connector on the engine is "OUT" which goes to the "IN" port on the catch.

Tman