

The very first thing you need to do in order to install a Whipple supercharger on your 1yr old family SUV is marry someone awesome. I did that!
The next things you need to do are 1) buy the sweetest SUV on the market and 2) buy what I consider to be the best designed supercharger on the market. Check and check!
OK, so seriously, let's get down to business. I am going to assume that anyone attempting this understand what the basic parts of the engine are and can identify most tools. If I have to explain step-by-step how to remove spark plugs because you don't know where they are located and you don't know what a spark plug is, then you don't need to be doing this yourself.
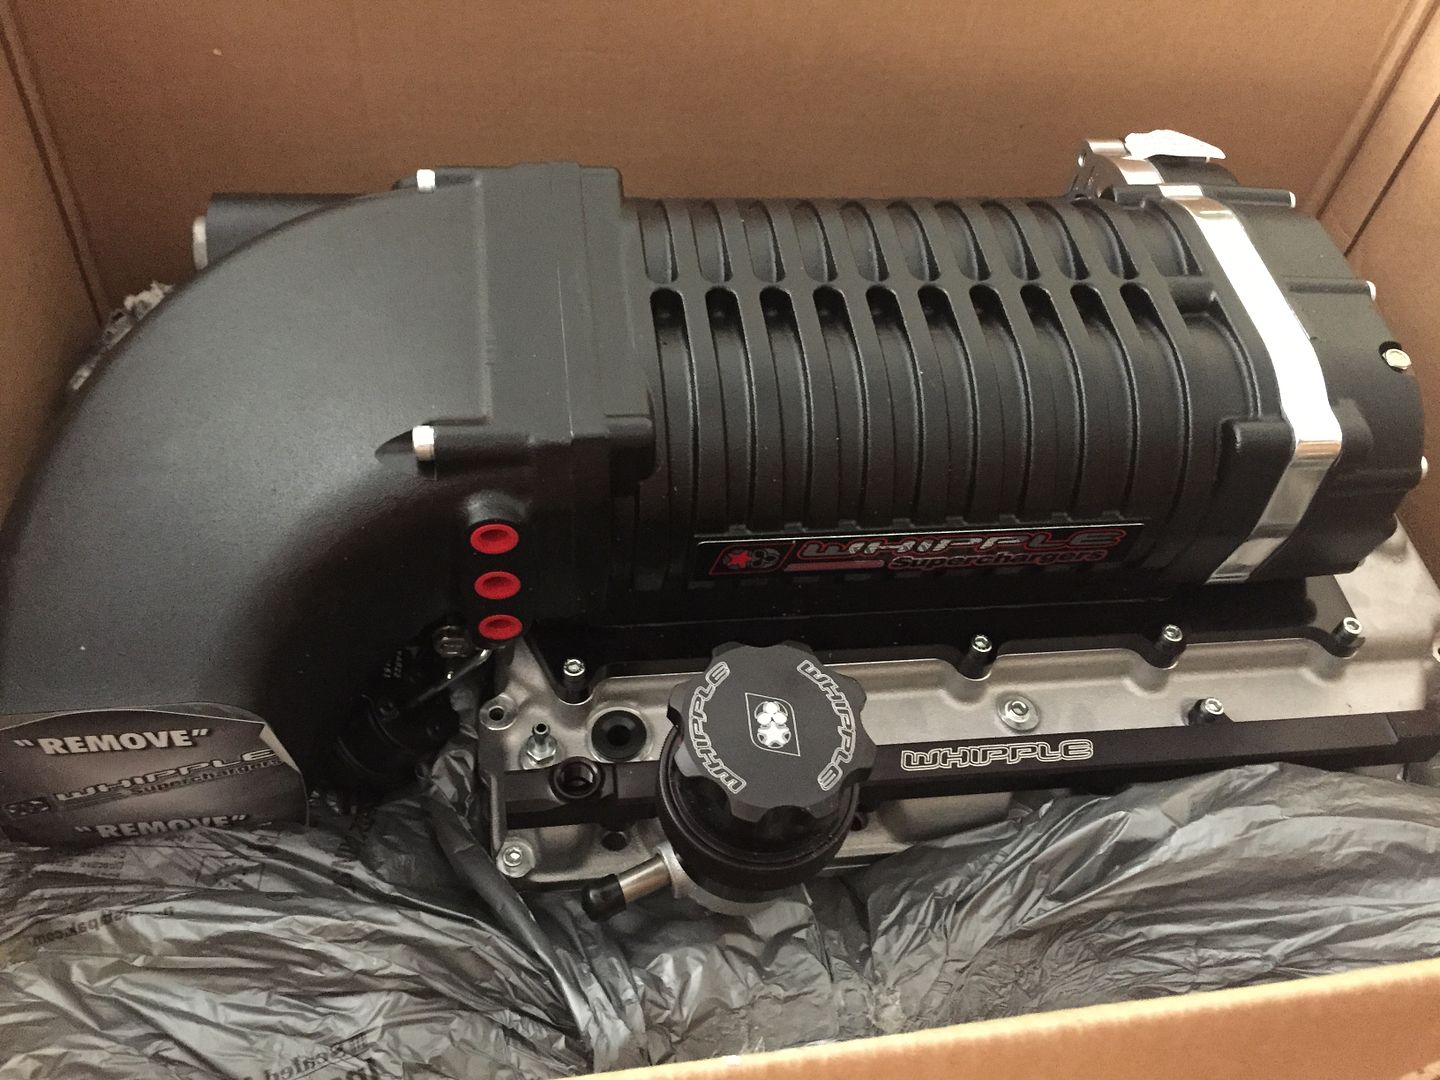
The kit came shipped in 2 very large boxes that were well packaged. One box holds the supercharger and the other holds all the other "stuff" for the install.
The other box (sorry, no picture), has the air filter and intake, bracket, pulleys, wiring harnesses and extensions, MSD fuel pump booster, spark plugs, belt, heat exchanger, hoses, several bags of bolts and random hardware, the instruction booklet, stickers, and a license plate frame. What it does not include, but you WILL need is the following:
--Coolant--Mopar or Zerex G-05 only. DO NOT USE "ANY MAKE OR MODEL", no matter what the "expert" behind the counter tells you. I found the G-05 at O'Reilly for about $19 hidden under something else. The dealership usually wants about $30. It probably won't be on the display wall with all the "any make or model" stuff so ask for it. Tell them it's "the Mercedes stuff" and then usually 1 person will dig in the back and find it. You'll need to dilute it with distilled water and you can get that for $1 or less at your local Wal-Mart. DO NOT USE tap water, drinking water, spring water, or anything other than distilled water.
--Allen head sockets, 3/8" drive is fine and you'll want everything from about 4mm to 10mm. I bought a set that had 3, 4, 5, 6, 7, 8, and 10 and inevitably I needed a 9 so I had to get creative. Make sure you get them all. I cannot emphasize enough that you need to either have the right tools or invest in them. I also recommend torx and allen screwdriver type bits and the long t-handeled allen wrenches. There are some tricky places that the sockets won't reach so you will need 1 or the other.
--Sealants and chemicals. The instructions tell you to get a few Loctite's: Red 271, Green 648, and Blue 242. You'll also want anti-seize, teflon tape, and any "clear automotive grease". I couldn't figure out exactly what they meant so I recommend something like this Super Lube Silicone. Carb cleaner is helpful as a degreaser/cleaner.
--Shop towels and gloves to keep things clean. You WILL spill things so be prepared to clean up. We picked up a bag of clay cat litter and used black nitrile gloves and had 3 or 4 rolls of the blue shop towels floating around. Trust me, you'll make a mess with something so be ready to clean up. I also have fender protectors to protect the truck's paint. I had a box of zip-top baggies to label and collect parts as I took things off. Masking tape is helpful for labeling and for protecting the engine when the intake is off.
--A right angle or 90* drill--something like this. You will be required to drill into your crankshaft and balancer to "pin the crank". I chose to pull the radiator to use my impact wrench on the center crank bolt and a normal drill for the pinning and ended up busting one of the tubes in the radiator. Learn from my mistake and either buy one or rent it from your local hardware store. I would also do everything I could to figure out a way to break the balancer center bolt without having to take out the radiator. An air ratchet (or electric power wrench) would be another tool investment but it'd be worth it to not have to mess with a busted radiator.
--Nothing but 91 or better in the tank. I'd been running the canned 93 tune from Diablo so I had 93 in the tank and that's what I will continue to use. Don't think you'll be able to leave 89 in the tank and then drive up to the station and top it off with 91 or 93. I highly recommend you plan ahead and start running your intended fuel for 2 or 3 tanks before you start the install. If you plan to run 91, use the Diablo 91 tune with 91 gas, etc.
--If I think of anything else, I'll come back and add it.
Some of the parts in the kit are specific for the Jeep SRT and some are used for the Durango while some parts are used for either platform. Read through the instructions while you look at the part to get familiar with what goes where and when you will be using them. If you're missing something, this is the time to find out and not when you're up to your elbows in engine bay. I was sent the wrong spark plugs. The instructions called for either NGK 2315's or 4306's but mine was shipped with 5107's that are designed for the 6.4L SRT. All manufacturers have their own specific heat ranges but the stock NGK's are a 5. The 2315's are a 6, which is actually 1 step colder despite the higher number. The 5107's are a 13--which is WAY too cold! Also, the 2009+ 5.7 Hemi has Eagle heads which use a gasketed spark plug but all of the recommended plugs are tapered. According to a few engine builders and tuners that I asked, it's not a big deal while you're running them, but once you go to a tapered plug you CANNOT go back to a gasketed plug: remember that if you ever plan to go back to stock.
The next things you need to do are 1) buy the sweetest SUV on the market and 2) buy what I consider to be the best designed supercharger on the market. Check and check!
OK, so seriously, let's get down to business. I am going to assume that anyone attempting this understand what the basic parts of the engine are and can identify most tools. If I have to explain step-by-step how to remove spark plugs because you don't know where they are located and you don't know what a spark plug is, then you don't need to be doing this yourself.
The kit came shipped in 2 very large boxes that were well packaged. One box holds the supercharger and the other holds all the other "stuff" for the install.

The other box (sorry, no picture), has the air filter and intake, bracket, pulleys, wiring harnesses and extensions, MSD fuel pump booster, spark plugs, belt, heat exchanger, hoses, several bags of bolts and random hardware, the instruction booklet, stickers, and a license plate frame. What it does not include, but you WILL need is the following:
--Coolant--Mopar or Zerex G-05 only. DO NOT USE "ANY MAKE OR MODEL", no matter what the "expert" behind the counter tells you. I found the G-05 at O'Reilly for about $19 hidden under something else. The dealership usually wants about $30. It probably won't be on the display wall with all the "any make or model" stuff so ask for it. Tell them it's "the Mercedes stuff" and then usually 1 person will dig in the back and find it. You'll need to dilute it with distilled water and you can get that for $1 or less at your local Wal-Mart. DO NOT USE tap water, drinking water, spring water, or anything other than distilled water.
--Allen head sockets, 3/8" drive is fine and you'll want everything from about 4mm to 10mm. I bought a set that had 3, 4, 5, 6, 7, 8, and 10 and inevitably I needed a 9 so I had to get creative. Make sure you get them all. I cannot emphasize enough that you need to either have the right tools or invest in them. I also recommend torx and allen screwdriver type bits and the long t-handeled allen wrenches. There are some tricky places that the sockets won't reach so you will need 1 or the other.
--Sealants and chemicals. The instructions tell you to get a few Loctite's: Red 271, Green 648, and Blue 242. You'll also want anti-seize, teflon tape, and any "clear automotive grease". I couldn't figure out exactly what they meant so I recommend something like this Super Lube Silicone. Carb cleaner is helpful as a degreaser/cleaner.
--Shop towels and gloves to keep things clean. You WILL spill things so be prepared to clean up. We picked up a bag of clay cat litter and used black nitrile gloves and had 3 or 4 rolls of the blue shop towels floating around. Trust me, you'll make a mess with something so be ready to clean up. I also have fender protectors to protect the truck's paint. I had a box of zip-top baggies to label and collect parts as I took things off. Masking tape is helpful for labeling and for protecting the engine when the intake is off.
--A right angle or 90* drill--something like this. You will be required to drill into your crankshaft and balancer to "pin the crank". I chose to pull the radiator to use my impact wrench on the center crank bolt and a normal drill for the pinning and ended up busting one of the tubes in the radiator. Learn from my mistake and either buy one or rent it from your local hardware store. I would also do everything I could to figure out a way to break the balancer center bolt without having to take out the radiator. An air ratchet (or electric power wrench) would be another tool investment but it'd be worth it to not have to mess with a busted radiator.
--Nothing but 91 or better in the tank. I'd been running the canned 93 tune from Diablo so I had 93 in the tank and that's what I will continue to use. Don't think you'll be able to leave 89 in the tank and then drive up to the station and top it off with 91 or 93. I highly recommend you plan ahead and start running your intended fuel for 2 or 3 tanks before you start the install. If you plan to run 91, use the Diablo 91 tune with 91 gas, etc.
--If I think of anything else, I'll come back and add it.
Some of the parts in the kit are specific for the Jeep SRT and some are used for the Durango while some parts are used for either platform. Read through the instructions while you look at the part to get familiar with what goes where and when you will be using them. If you're missing something, this is the time to find out and not when you're up to your elbows in engine bay. I was sent the wrong spark plugs. The instructions called for either NGK 2315's or 4306's but mine was shipped with 5107's that are designed for the 6.4L SRT. All manufacturers have their own specific heat ranges but the stock NGK's are a 5. The 2315's are a 6, which is actually 1 step colder despite the higher number. The 5107's are a 13--which is WAY too cold! Also, the 2009+ 5.7 Hemi has Eagle heads which use a gasketed spark plug but all of the recommended plugs are tapered. According to a few engine builders and tuners that I asked, it's not a big deal while you're running them, but once you go to a tapered plug you CANNOT go back to a gasketed plug: remember that if you ever plan to go back to stock.


")


